Rebates
Ontario Window Rebate Invoice Checklist for Contractors in 2026
Ontario window rebate contractor invoice checklist 2026: confirm invoice details before you pay, upload, and avoid rebate delays.

Ontario window rebate contractor invoice checklist 2026 searches usually come from homeowners who are past the quote stage and trying not to lose time over a missing invoice detail. Treat the contractor invoice like rebate evidence, not just a receipt.
For Ontario's Home Renovation Savings program, windows and doors sit inside the assessment-required upgrade path. That means your invoice has to line up with the home energy assessment file, the final upgrade record, and the rebate application.
| What you see | Likely cause | First move |
|---|---|---|
| Invoice says "window job" only | Line items are too vague for review | Ask for a revised invoice with each eligible opening described |
| Property address is missing | Contractor used a billing-only template | Have the install address added before payment |
| Deposit receipt and final invoice disagree | Change order or tax treatment was not reconciled | Request one final paid invoice showing the total |
| Opening count seems high | Windows, doors, skylights, or patio doors may be mixed together | Match each rebate claim to a real rough opening |
| No model or efficiency records | Product paperwork stayed with the installer | Ask for the model details and keep them with your file |
What You Need Before You Check the Invoice
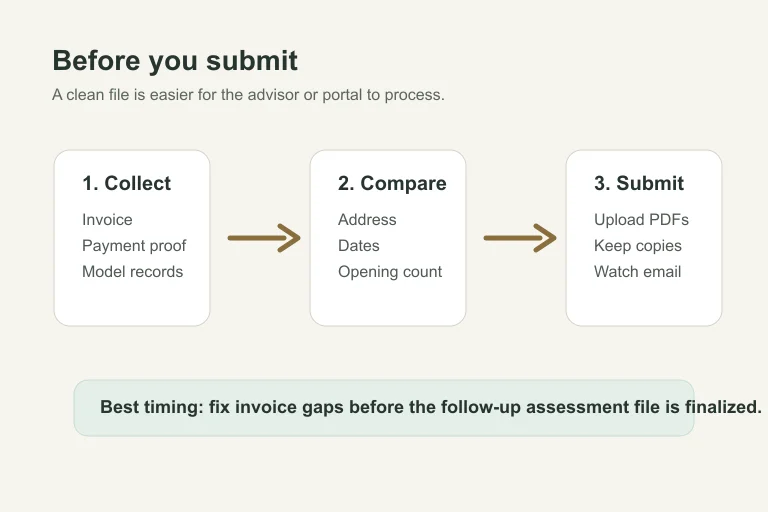
- Set aside 15 minutes. Put the contractor quote, final invoice, proof of payment, energy assessment report, and product paperwork in one folder.
- Confirm the program path. Windows and doors are generally reviewed with the assessment-required upgrades, so do not treat the invoice as a standalone rebate claim.
- Use the same property details everywhere. Your application, assessment report, contractor paperwork, and invoice should point to the same Ontario home.
Use This Ontario window rebate contractor invoice checklist 2026 Before You Pay
- Check the contractor identity, 3 minutes. The invoice should show the business name, phone or email, and enough detail to tie the installer to the work. If the contractor also gave you a separate contract, keep both.
- Check the install address, 2 minutes. Look for the civic address where the windows or doors were installed, not just your mailing address. Small address mismatches can slow a file review.
- Check the dates, 4 minutes. The invoice date, installation period, payment date, and assessment timeline should make sense together. If work started before the required initial assessment, ask your service organization how that affects eligibility before you assume it is fine.
- Check the paid amount, 4 minutes. The final invoice should clearly show taxes, deposits, credits, balance due, and final paid status. Screenshots from banking apps are useful backup, but they do not replace a clean contractor invoice.
Match Each Window or Door to the Rebate Rule
- Count rough openings, 10 minutes. The official program page lists windows and doors at $100 per rough opening, so the count matters. One large opening with multiple glass sections is not automatically multiple openings.
- Separate windows, doors, skylights, and sliding doors, 8 minutes. Ask the contractor to itemize them clearly if the invoice rolls everything into one "fenestration" line.
- Keep model evidence, 5 minutes. Store product labels, ENERGY STAR paperwork, quote attachments, or manufacturer spec sheets with the invoice. Honestly, most invoice problems start because the model proof is somewhere else.
Reconcile the Invoice With Your Assessment File
- Compare against the upgrade report, 10 minutes. Your initial home energy assessment and upgrade recommendations are the backbone of the file. Make sure the invoice describes the work you actually plan to claim.
- Watch the two-upgrade requirement, 5 minutes. Assessment-required rebates usually depend on completing at least two eligible upgrades. If windows are your only project, pause and confirm the path before submitting.
- Check whether another upgrade affects timing, 7 minutes. If you are also doing attic insulation, air sealing, or heat pump work, keep the invoice dates and contractor records in separate folders. Clean separation makes the final review easier.
Fix Invoice Gaps Before Submission
- Ask for corrections in writing, 5 minutes. Send the contractor a short email with the missing fields: install address, itemized openings, model details, payment status, or corrected dates.
- Request a revised final invoice, 2 minutes. Do not rely on a handwritten note if the contractor can issue a corrected PDF. A single clean PDF is easier to upload and defend later.
- Name the file clearly, 3 minutes. Use a file name such as "window-invoice-final-paid.pdf" so you do not upload the quote by accident.
- Keep the original too, 2 minutes. If the revised invoice changes wording but not the price, save both versions. That gives you a trail if anyone asks why the file changed.
Upload and Keep a Clean Record
- Prepare the portal file, 10 minutes. Use a PDF when you can. Before uploading, open it once and check that every page is readable on screen.
- Save the confirmation, 2 minutes. Keep any portal confirmation, email, or advisor note with the invoice folder. Do not leave the only copy in your inbox.
- Track the follow-up assessment, 5 minutes. Program steps generally include a follow-up assessment after upgrades are complete. Your invoice should be ready before that final file is wrapped up.
If you are unsure how the upload stage works, compare your file names and document order with the Home Renovation Savings application portal guide before you start clicking through screens.
Related Planning Guides
Window paperwork often overlaps with other upgrades. For assessment timing, compare the air sealing blower door test guide, the home energy assessment cost guide, and the Home Renovation Savings deadline guide.
For contractor and pre-approval checks on bigger mechanical upgrades, use the heat pump pre-approval checklist, the participating contractor verification guide, the electric-heated home heat pump rule, and the gas-heated home heat pump rule.
If your renovation also includes a fuel switch, read the propane to heat pump rebate checks and the oil to heat pump rebate checks. For related equipment, keep the heat pump water heater eligibility guide, ground source heat pump rebate guide, and cold climate heat pump guide nearby.
For envelope work that may be bundled with windows, check the attic insulation deadline guide, attic insulation contractor checklist, basement wall insulation rebate guide, and exterior wall insulation rebate guide.
Planning other Ontario incentives? Save the solar panel rebate guide, Ontario appliance rebate basics, and the rebate scam warning so you do not mix official paperwork with sales claims.
Quick Checklist
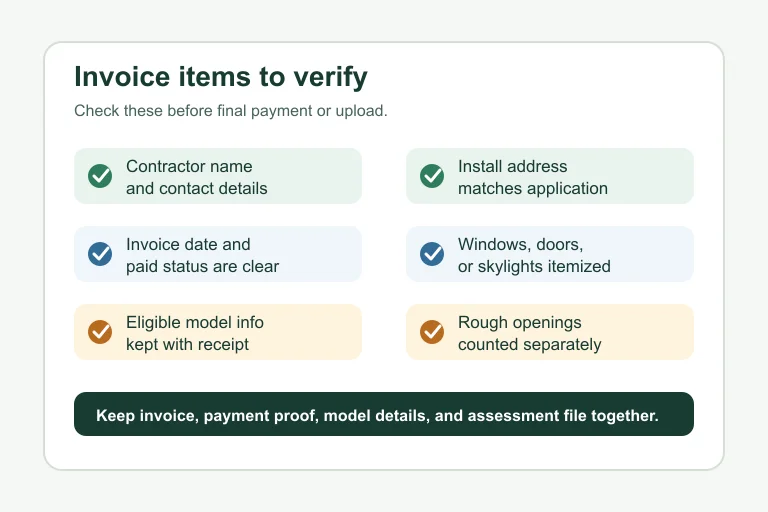
- Confirm the install address appears on the final invoice.
- Make sure the contractor name and contact details are readable.
- Ask for each eligible window, door, skylight, or sliding door to be itemized.
- Keep model, efficiency, and product paperwork with the invoice.
- Match invoice dates to the assessment-required upgrade timeline.
- Save proof of payment and any revised invoice versions.
- Check the official program page before submitting because rebate rules can change.
Official sources: Home Renovation Savings assessment-required upgrades · Enbridge Gas rebates and energy conservation. Check current program pages before applying.
A tidy invoice will not guarantee approval, but it removes one of the easiest reasons for a delay. Before you upload anything, read the invoice like a reviewer would: who did the work, where it happened, what was installed, when it was paid, and how it ties back to the assessment file.
Frequently Asked Questions
what should be on a contractor invoice for Ontario window rebates?
Include the contractor business details, install address, invoice date, payment status, itemized windows or doors, product details, taxes, and final amount paid. Keep proof of payment with it.
do Ontario window rebates need an energy assessment in 2026?
Windows and doors are listed under the assessment-required Home Renovation Savings path, so plan around an initial assessment, eligible upgrades, and a follow-up assessment unless the official program terms say otherwise.
how many windows qualify for the Ontario rebate?
The program page describes windows and doors by rough opening. Check the current official terms, then match each claimed opening to the contractor invoice and product paperwork.
can I submit a quote instead of a paid invoice for a window rebate?
A quote is useful planning evidence, but the final rebate file normally needs proof that the eligible work was completed and paid. Keep the quote, but upload the final paid invoice when requested.
what if my contractor invoice is missing model numbers?
Ask the contractor for a corrected invoice or a supporting product sheet. Do that before submission so your file shows which windows, doors, skylights, or sliding doors were installed.